
RV Solar Panel Guide For Beginners
RV Solar Panel Guide For Beginners
Choosing to add solar panels to your RV, travel trailer, van or bus is a great decision! Not only is it better for the environment but it’s also better for your sense of adventure.
Installing an adequate solar power system to the roof of your rig means you are not tied down to shore power (plugging your rig into the electrical grid on 30 or 50 amp power) and are free to explore to your heart's content. However, figuring out the number of panels you need, understanding what an inverter is and juggling wattage can be downright mind-boggling.
If you’re reading this you are likely looking for clarification on the RV solar panel process so let’s break it down. This is your RV Solar Panel Guide for Beginners:
| CONTENT |
|
1. Calculate Your Usage
The first thing you will need to do is calculate the amount of energy you use or plan to use in your RV. This can be done 2 ways: with a battery monitor or by doing some basic math.
- Battery Monitors- These are units that can be purchased and easily connected to the battery in your RV. Units can range in price from $99-$300 depending on your desired features, just make sure it monitors your power consumption in watts. This unit from Victron comes in at just over $200 and offers Bluetooth connectivity that allows you to monitor your usage from your smartphone. Once your monitor is installed all you have to do is go boondock (camping with no hookups) for 24 hours to get an idea of your daily energy consumption and that’s that. While the upfront cost might seem like a lot, it may be worth it to obtain an accurate usage number. Plus, you can use the unit later on when you are powering your batteries via solar power.

- Math Calculations- If you are good with numbers and don’t want to spend the cash on a battery monitor then you can calculate your power consumption the old-fashioned way. This option will also require you to do some research on the specific makes and models of your appliances, A/C unit, television, etc. in your RV. You will need to determine the watt-hours for every appliance you plan to use and multiple that by how long you plan to use it. Here’s an example: Your rig has 1 television. The television uses 90 watt-hours or 90 watts per hour. If you plan to watch 3 hours of television per day then that calculation looks like this 90W x 3h = 270 watt-hours per day. An average microwave uses 1200 watts per hour. You will need to do this for everything you expect to use while camping and add the totals together to get your overall usage.

---
2. Understand System Sizes
Now that you know how much energy you use, you can decide on a system that will store adequate energy for you. Basically, that’s what it comes down to Energy Stored/Energy Used. As mentioned above, power consumption is calculated in watt-hours, so as you are shopping for solar panels/systems you will need to pay attention to their watt capability. For example, a 100W solar panel is capable of generating 2,400 watt-hours (100w x 24hours) whereas a system of 5, 100W panels would be considered a 500W system and be capable of collecting 12,000 watt-hours. Cross-check this with your previously determined usage number to decide how many panels you need. Then make sure you have a sufficient battery/batteries, such as the Lion Energy UT 1300, that can store the power your solar panels have worked so hard to collect. A rule of thumb is to install a system that can accommodate more than your estimated usage. Not every day is sunny and your panels won’t collect their full capacity on a cloudy day therefore, you need to have room to store power...literally for a rainy day. Also, running your system at full capacity isn’t ideal as it puts strain on your system and can result in surges or outages.
Check out some of the best systems:
300W All Black Mono Solar RV Kit
400W All Black Mono Solar RV Kit
500W All Black Mono Solar RV Kit
---
3. Controllers and Inverters?
All RV solar energy systems require a charge controller. Charge controllers are battery regulators that keep your battery from overcharging when there is a surplus of energy input. For a small system, a pulse width modulation or PWM charge controller will be sufficient; however, if you are running higher wattages then you will want a maximum power point tracking or MPPT charge controller.
The power that runs through your solar panels to your battery is what’s called direct current or DC. This generates enough power to run the lights, tv, and vent fans but isn’t enough to run your air conditioning, outlets, microwave, or refrigerator. For these, you will need alternating current power or AC power and for that, you will need an inverter. An inverter takes the DC power generated by the solar panel and converts it into AC power for your RV, thereby allowing you to run appliances that otherwise could only be run with a generator or electrical hook up. If you are only looking to keep your batteries charged and plentiful then you likely will not need an inverter however, if you are hoping to live a bit more comfortably thanks to your solar energy system then you will need one. If you are looking for an all-in-one setup, check out this system.
---
4. What Panels are Best?
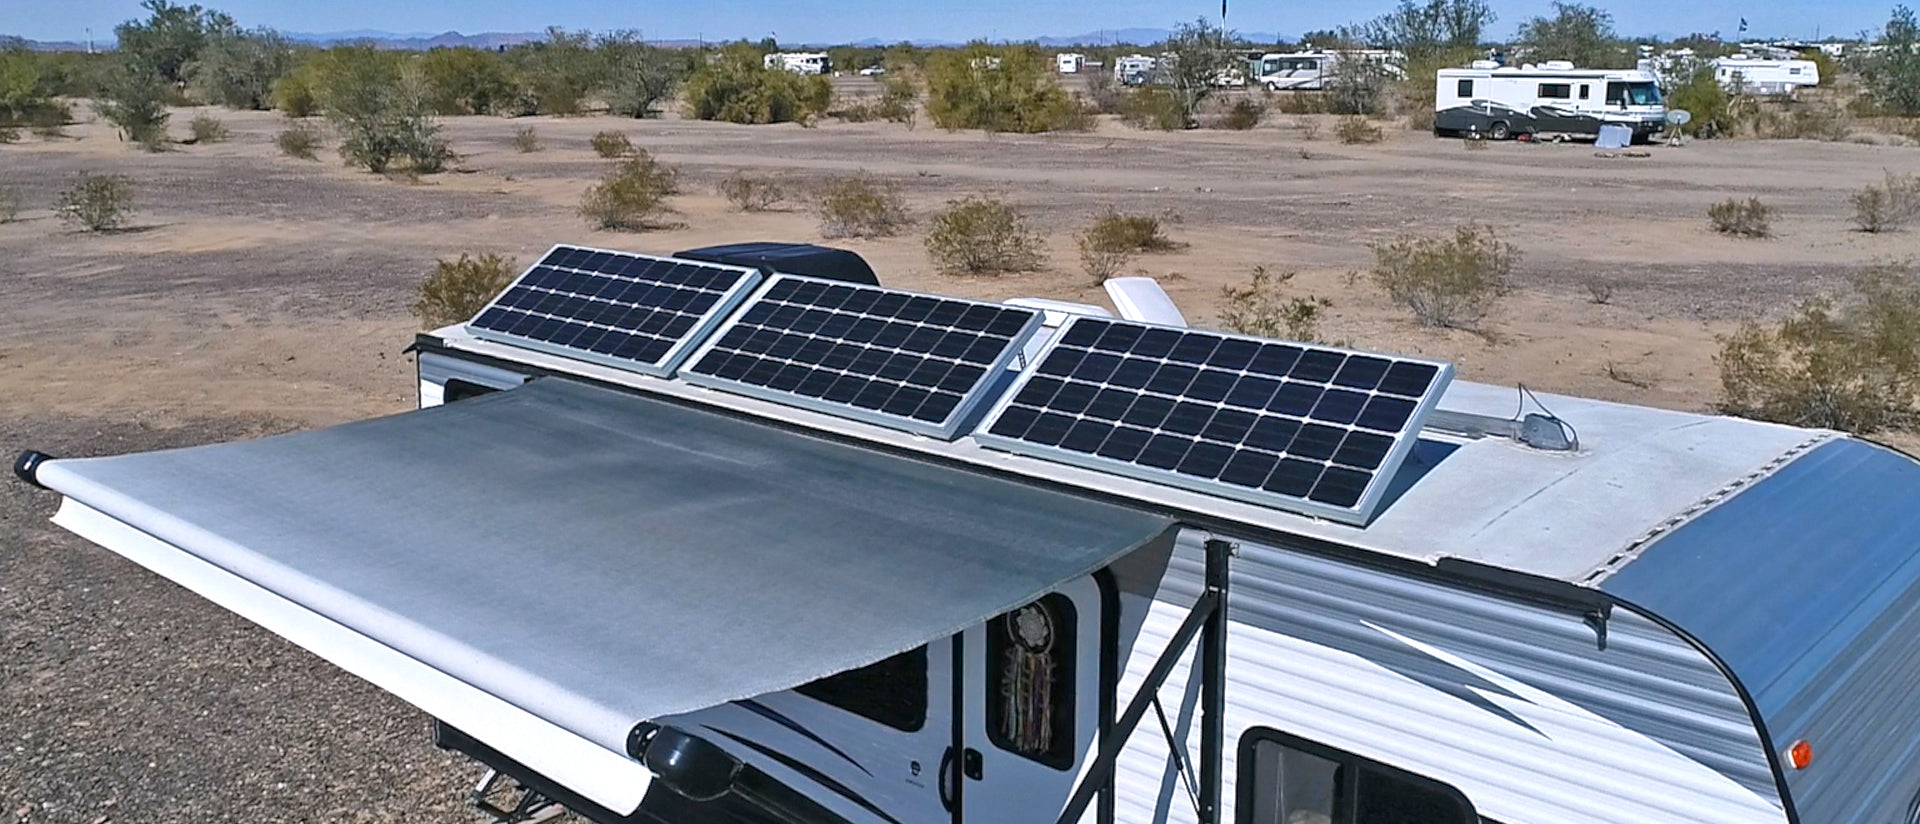
Typically solar panels are available in polycrystalline (poly) panels or monocrystalline (mono) panels. Polycrystalline panels are made from several pieces of silicone that are then combined whereas monocrystalline panels are made from one solid piece of silicone. For this reason, mono panels are more expensive but also more efficient, with a 20% efficiency rating compared to poly’s 15% rating. There are even flexible panels available in both poly and mono makes that are perfect for the roofs of RVs as they hold up extremely well to the “shake, rattle, and roll” of the road. Check out this flexible mono panel setup complete with panels, wiring, and charge controller.
---
5. The Installation Process
If you are handy or enjoy DIY then you should be able to install your solar system yourself however, if you are putting in a large system you may want to consult an electrician or RV dealer. While low voltage systems are safe to work with, working with electrical isn’t without its hazards so just be careful. If you’re not so keen on the idea of self-installation then look into a dealer who specializes in solar panel installation or an independent RV mechanic who will take on the job. Now as far as the setup, it goes something like this:
- Install solar panels by securely mounting them to the roof of your RV
- Mount your system's charge controller inside the RV, as close to the battery as you can get it
- Run the wiring from the solar panel(s) down into the RV and to the charge controller. You can use existing holes or drill new ones, just make sure they are sealed up with caulking when you are finished.
- Now run the wires from your charge controller to your battery bank.
- Finally, if you are utilizing an inverter, install it near your battery bank and connect the wires from the inverter to the battery.

While it may seem overwhelming at first, installing an RV solar energy system just takes some patience. Give yourself some time to adjust to the new terminology and don’t be afraid to ask for help or put a call into an RV mechanic. In the end, it will all be worth it when you are camping on a remote lakeshore with all the comforts of home and no hum of a generator.


